Button photo DTC.png  photo DT.png Button Button Button Button Button
Button

Tuesday, April 30, 2013

Tips & Techniques Tuesday: Stickle Storage


Hi Stickles fans, it's Chas and I'm here to give you some ideas to store all those bottles of Stickles.

First of all, you should really store the bottle upside down because if you don't, air will get in the bottle and it will burp when you use it. You really don't want that to happen and have a splatters of glitter on your project.

Here are some examples to store the bottles that won't break the bank and help you be able to afford more Stickles:

This one uses a cookie sheet pan and magnets.

 Here we have an acrylic picture frame and Velcro.

Next is PVC coupling glued together.

 You can also use storage container and a piece of wood with holes drill in them.

So have fun coming up with a way to store your Stickles and don't forget to visit my blog at http://scrapinlizards.blogspot.com/

If you have a unique way of storing your Stickles, please share with us!

Saturday, April 27, 2013

Icicle Linky Party!

Welcome to this week's linky party at All that Stickles!  

And don't forget about the prizes! Every month we will have multiple sponsors and multiple winners! Winners are not announced on a weekly basis, but rather on a monthly basis. The more times you link up, the more chances you have to win! Sponsors will be announced at the beginning of the month and then posted on the sidebar for the rest of the month, and the winners will be announced on the first Saturday of the next month. April winners will be announced on Saturday May 4th.

Linky Party Rules & Guidelines
  • Baby blue linky party is open from Sat. April 27th - Friday May 10th at 11:00 PM US CST
  • Any project you submit must be linked to your blog or online gallery.
  • Projects must be NEW, no backlinking, please.
  • Number of entries per linky party is unlimited.
  • You may link up ANY type of crafty project as long as it uses the Stickles color of the week.
  • Projects not using the Stickles color of the week will be disqualified.
  • You may use as many colors of Stickles as you'd like on your projects as long as the color of the week is included.
  • Winners will be randomly chosen.

This week's linky party color is Icicle!

Create ANY project using Icicle Stickles!


And without further ado, here's some inspiration from the design team to get those glittery gears turning!


Stickles Used: Icicle
Outdoors Tag Kit from The Robin's Nest

Tonya
Stickles Used: Icicle
Outdoors Tag Kit from The Robin's Nest

Stickles Used: Icicle


Stickles Used: Icicle
Akilah the Mermaid Digital Stamp from Fresh Brewed Designs


Stickles Used: Icicle
Outdoors Tag Kit from The Robin's Nest

We can't wait to see what you create! Thanks for linking up!

Thursday, April 25, 2013

Tips & Techniques Thursday: Distressed Stickles Variations

 
Distressed Stickles Technique
by Roni Johnson

Today I wanted to share a technique I started playing with way back in April 2010.
Originally I had used Aleene's Thick Tacky Glue combined with Distress Ink to come up with Distress Glue Technique. 

I thought it might also work by substituting Stickles Glitter Glue in place of the glue and give it a bit of sparkle at the same time.

As luck would have it, it worked perfectly.
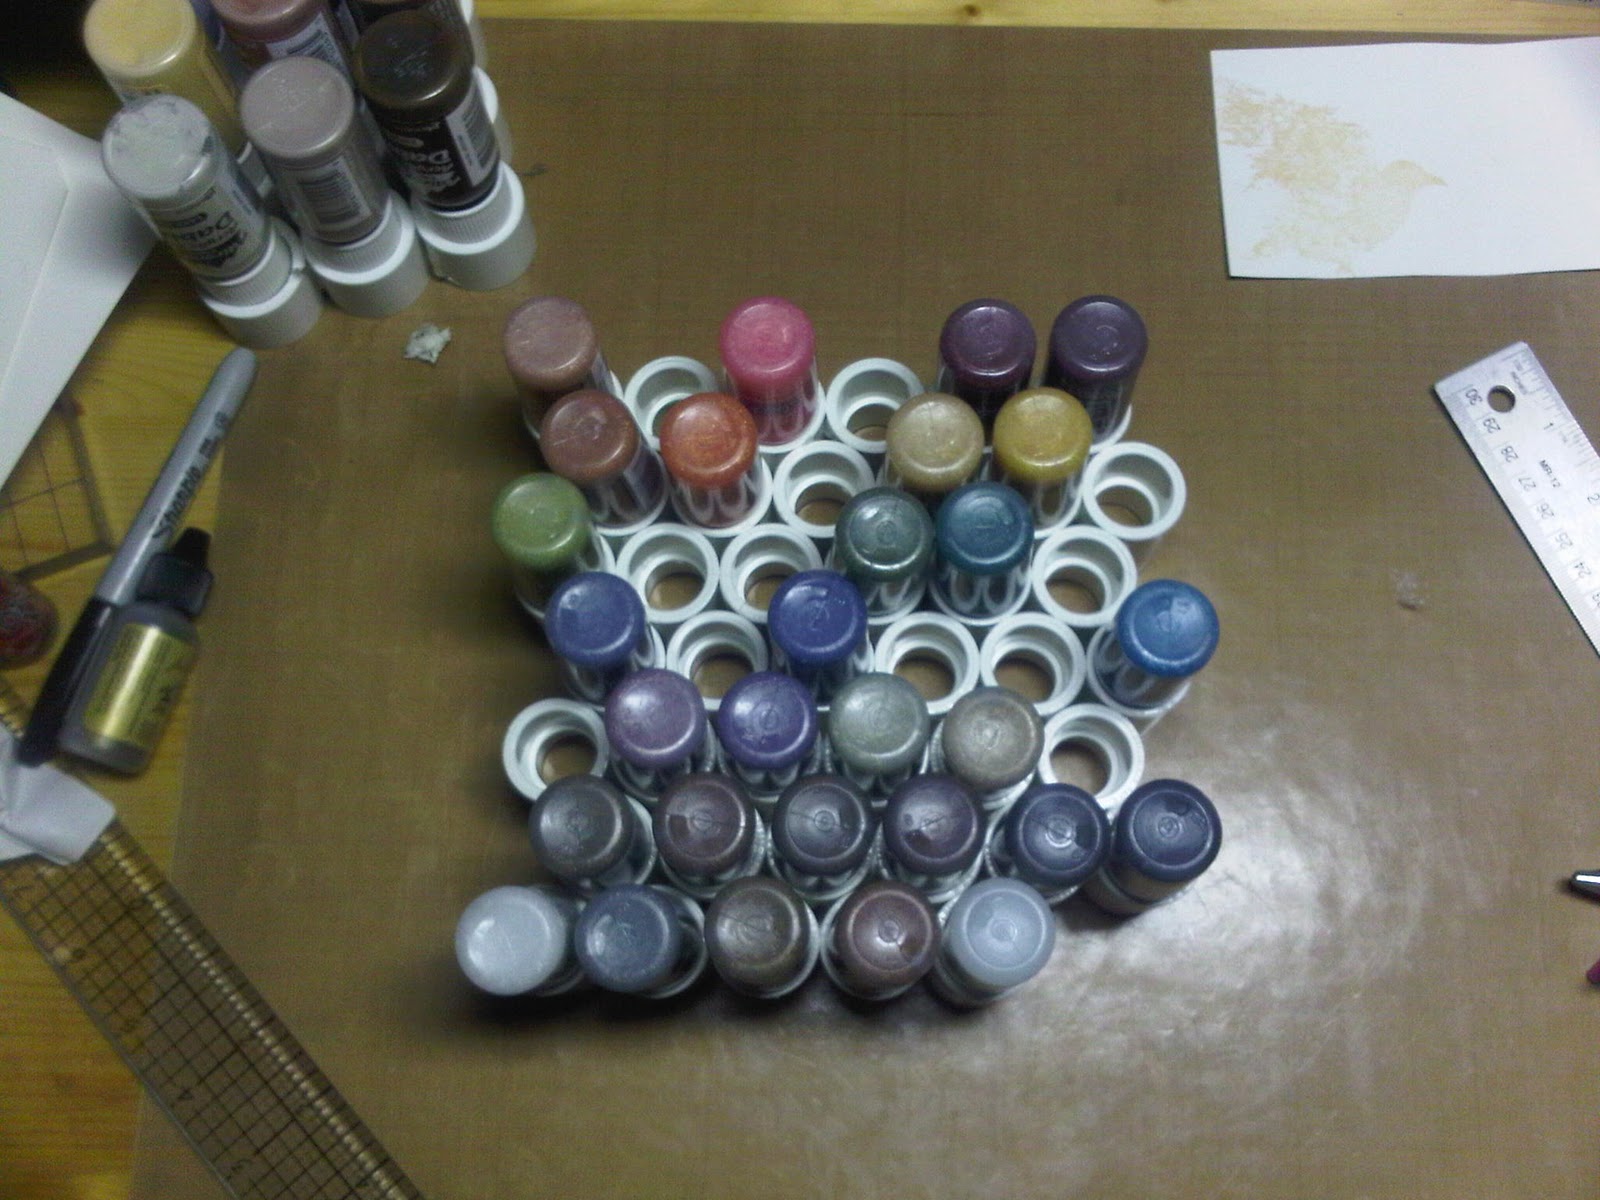
Supplies:
Stickles Glitter Glue
Cardstock
Distress Ink
Ink Blending Tool

Instructions:
1. Begin by squeezing a dab of the Stickles onto your finger tip. 


2. Lightly spread the Stickles over the cardstock.  You don't want solid coverage, just steaks of the Stickles here and there. 


3.  Continue spreading the Stickle over cardstock until the entire piece has been covered.  For this example I used Lime along the bottom 1/3rd, Waterfall in the top 2/3's with a few dots of Frosted Lace dotted here and there.


4. Now comes the hard part....  You have to let the Stickles dry completely. I don't it doesn't sound like much but I'm always excited to get to the next step to see what's hidden on the paper. If you're like me you may need to pull out your heat tool to speed the drying process.

5. After the Stickles have finally dried it's time to see what you've got.  Use the Ink Blending Tool to apply desired color of Distress Ink over the cardstock.  I started off by using Peeled Paint along the bottom.


I used Stormy Sky for the upper 2/3rd's of this example.  You can see how the Distress Inks have brought out the Stickles Glitter & Glue.  It's really very pretty up close.  Since the colors of ink I have used were lighter you can use the panel as is. 

If I would have used a darker ink such as Chipped Sapphire, Gathered Twigs, Aged Mahogany, etc.  it might have made it harder to see the Stickled areas.  In that case all you would do is to take a damp cloth and wipe away the excess ink from the Stickled areas.


And here is what my finished card looks like....


Distress Stickles Variation I

1. For a variation on the original technique you can apply one or more lighter colored inks to the cardstock prior to adding the Stickles.  Once the Stickles have been applied over these foundation inks they will show through the Stickles after the final step.


In this example I used Chipped Sapphire for the final layer of ink.  You can see how the Stickles are harder to see at the top of the tag and after cleaning how well they show up (along the bottom).


The cleaned up tag....


And my finished tag....


Distressed Stickles Variation II

For this example I initially applied Old Paper Distress Ink to the cardstock.  I then applied Cinnamon Stickles over the entire panel.  For the cover-up - reveal layer of ink I applied several colors of Distress Ink - Rusty Hinge, Spiced Marmalade, Gathered Twigs, and Tea Dye.

You can see how some of the inks highlight the Stickles more than others. 


And my finished card...


I hope you have enjoyed this unique way to incorporate Stickles into your art!
~Roni


Wednesday, April 24, 2013

Wednesday Inspiration & Baby Blog Hop Winners!

Happy Wednesday!
 
 
We have a bit a bit of inspiration for you.  
 
 
This card was created for the Get Inky! Bling challenge
 
Stickles were added to the cupcake top, bottom, cupcake tops on the background paper, and the tag. 
 
Head over the Tonya's blog for the details. 
 
 
And now here are the winners from the Baby Blog Hop!

1 Stamp Set of Winner's Choice
WINNER: AMBER R.

Handmade Stick Pins or 1 Set of Handmade Fabric Covered Buttons
WINNER: POLLY

$5 Gift Certificate
WINNER: LAURA

$6 Voucher
WINNER: LEEANN

10 Digis of Winner's Choice
WINNER: YVONNE

Congratulations, ladies! Please email us at allthatstickles@gmail.com with the subject "BLOG HOP WINNER" to claim your prizes.

Tuesday, April 23, 2013

Tips & Techniques Tuesday: The Different Types of Stickles


Sometimes it's hard to see the difference in the 3 types of Stickles -  there are regular Stickles, Distress Stickles and now ICE Stickles.


The nozzles have slightly different diameters.  The ICE Stickles comes in a 1.0 oz bottle and the other two come in 0.5 oz bottles.

The regular Stickles have a fine glitter and usually have more sparkle and shine.  Distress Stickles have bigger and duller glitter flecks.


The regular and ICE Stickles are similar in color and some hues have the same name.  The ICE Stickles glitter flecks are significantly larger than the regular Stickles.


So, the regular Stickles have fine glitter flecks with a lot of sparkle.  The Distress Stickles have larger, duller flecks of glitter.  The ICE Stickles have the largest glitter flecks that also sparkle.


I hope this helps!

P.S. Don't forget to add your project to the current Baby Blue Linky Party.

Sunday, April 21, 2013

Baby Blog Hop

Welcome to the Baby Blog Hop brought to you by the All that Stickles design team!


Bring on the bouncing babies! It's time for a Baby Blog Hop filled with all sorts of cute, fun, and of course, sparkly, baby themed projects!

If you're looking to start at the beginning of the hop you're in the right place!

We have blog candy for those who are a follower of All that Stickles and leave a comment on every stop of the hop! Winners will be announced Wednesday April 24th at All that Stickles.

1 Stamp Set of Winner's Choice

Handmade Stick Pins or 1 Set of Handmade Fabric Covered Buttons

Digital Delights by Louby Loo
$5 Gift Certificate

$6 Voucher

10 Digis of Winner's Choice

Your next stop is Ashley's blog

Here's the complete lineup:

Thanks for hopping! :)

Saturday, April 20, 2013

Mid-Linky Party Baby Blue Inspiration!

Happy Saturday, Stickle-lovers! Today the design team would like to share with you some mid-challenge inspiration for our current Baby Blue Linky Party


All you have to do is create a project using Baby Blue Stickles! The linky party ends next Friday, April 26th. Remember that our list of sponsors for the month can always be found on the sidebar of our blog. :)

And now here's what the design team has created for you!

Stickles Used: Yellow, Baby Blue

Stickles Used: Baby Blue
Outdoors Tag Kit from The Robin's Nest


Stickles Used: Baby Blue
Ruby TGIF Digital Image from Bugaboo Stamps

Stickles Used: Baby Blue

Hope to see you linking up!

Thursday, April 18, 2013

Tips & Techniques Thursday: Bling Out Your Buttons with Stickles!

Today we are a featuring a Stickles technique by our guest blogger, the wonderful Miriam!


Starting with these plain flower shaped buttons I will show you how to create a button that will add color and flair to a large variety of projects. You only need two basic supplies, these buttons and Stickles! Here is my, so far, small palette of Stickles to 

choose from. Even with this small selection though, I made a variety of buttons that can be used for many different projects.


All you have to do is fill each of the indentations in the button with enough of your choices of Stickles color to overfill the hole. Then, set them aside to dry. If you would like to cut off the shank from the back of the button in order to make it a flat back embellishment I would suggest waiting until after you've filled it in so that it's easier to hold onto while filling in.


Before they dried:

After they dried:


Some finished buttons and project examples:


Thanks for stopping by!